Screenshots Resolution (7, 8, & 10)
Listed below are step-by-step instructions for correcting the resolution/size of screenshots in your account.
Step 1 :
Enable hidden file viewing by following the instructions HERE.
Step 2 :
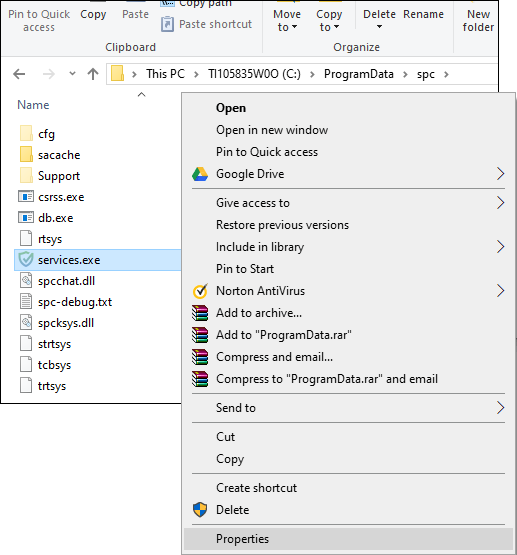
Navigate to "C:\ProgramData\spc\".

Step 3 :
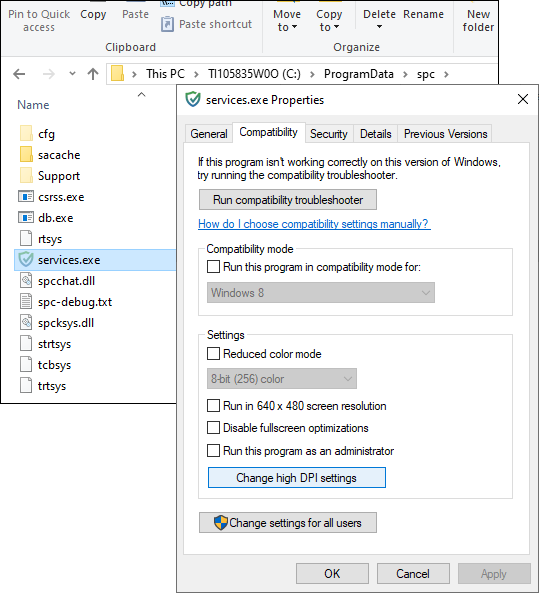
Right click on the services.exe file and select "Properties" then click on the "Compatibility" tab in the window that appears.
Step 4 :
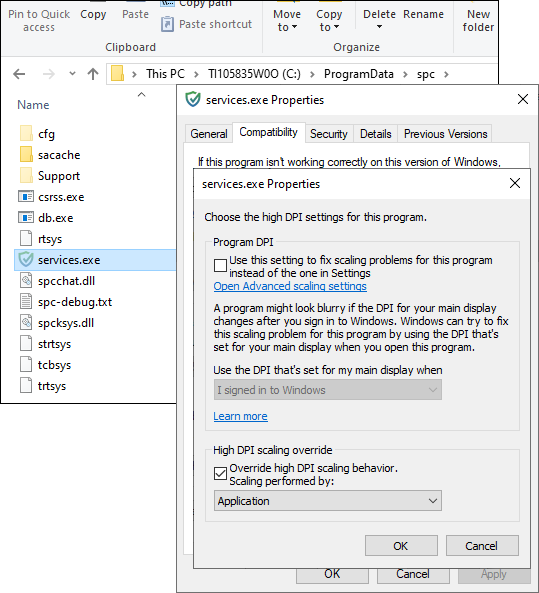
Check the box 'Override high DPI scaling behavior.' (if this box is not present, look for a button labeled 'Change high DPI settings', then click it and check the 'Override high DPI scaling behavior' box on the next screen, then click OK).
Step 5 :
Click 'OK' / 'Apply' to save your settings.
Step 6 :
Disable hidden file viewing by following the same instructions in Step 1 — just disabling them this time. Disabled is the default setting.
Step 7 :
Restart the computer. All new screenshots uploaded to your online account will be correct/full size from now on.